When it comes to garage door openers, LiftMaster is a name you can trust. But even the best equipment needs maintenance, and that includes batteries. Whether you’re hearing the dreaded “beep” from your opener or your remote’s range is getting shorter, knowing how to replace the battery is essential for keeping your garage door running smoothly. 🚪
This guide breaks down how to replace *both* types of LiftMaster batteries: the main backup battery in the opener unit and the small coin battery in your remote control.
Key Takeaways:
- Two Types of Batteries: Your opener has a large Backup Battery (like the 485LM) for power outages, and your Remote has a small coin battery (like a CR2032) for sending a signal.
- Backup Battery Warning: The most common sign you need to replace the opener battery is a constant, annoying beeping sound or a flashing orange/red LED.
- Remote Battery Warning: The most common sign you need to replace the remote battery is a decreased range (you have to get closer) or the remote’s LED light appearing dim or not flashing at all.
- Safety First: Always unplug the garage door opener from the ceiling outlet before replacing the main backup battery.
Part 1: How to Replace the Opener Backup Battery (e.g., 485LM)
LiftMaster backup batteries, like the popular 485LM, are designed to keep your garage door opener functioning during a power outage. This isn’t just a convenience; it’s a critical safety feature. A fully charged battery typically provides 10-20 cycles (open/close) on its own.
Signs Your Backup Battery Is Dying
You’ll know it’s time for a replacement when your opener becomes impossible to ignore:
- 🚨 Constant Beeping: A steady beeping (e.g., once every 2 seconds) is the #1 sign.
- 💡 Flashing Lights: You may see a flashing orange, yellow, or red LED light on the opener unit or wall control panel. The light may flash a specific number of times, referencing an error code.
- Warning on Screen: If you have a smart wall control, it may display a “Low Battery” message.

The 485LM is the common replacement battery for most modern LiftMaster openers.
Step-by-Step Guide: Replacing the Backup Battery
Replacing your backup battery is a straightforward process. Safety first!
- Disconnect Power: Unplug the garage door opener from the electrical outlet in the ceiling. This is not optional.
- Locate Battery Compartment: On most models (like the 8550W), the battery compartment is on the side of the motor unit. It’s often marked with a battery symbol.
- Open the Cover: Remove the screw holding the battery cover and lift the cover off.
- Disconnect Old Battery: The battery is connected by a wire harness with a red and black wire. Carefully disconnect the battery connectors.
- Remove Old Battery: Slide the old 485LM battery out of the compartment.
- Install New Battery: Slide the new battery in. Reconnect the battery connectors (match red to red, black to black). The connector is usually designed to only fit one way.
- Close and Test: Replace the battery cover and secure it with the screw. Plug the opener back into the outlet. The beeping should stop, and the charging light should come on.
Note: The beeping might not stop instantly. The new battery may need a few minutes to charge before the opener’s logic board recognizes it. Give it 5-10 minutes.
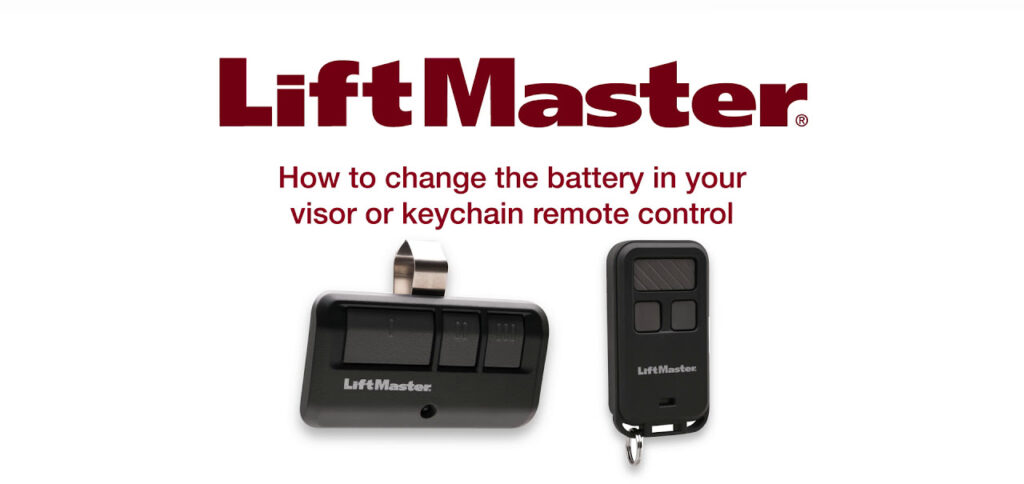
Part 2: How to Replace the Remote Control Battery (e.g., CR2032)
Your LiftMaster remote (or “clicker”) is your trusty companion. When it starts to fail, it’s almost always a dead battery. This is a separate, much smaller battery than the one in the opener unit.
Signs Your Remote Battery Is Dying
- Decreased Range: You have to get closer and closer to the garage for the remote to work.
- Must Press Multiple Times: You have to mash the button several times to get a response.
- No LED Light: The small LED on the remote that usually lights up when you press the button is dim or completely dead.
Step-by-Step Guide: Replacing a Remote Battery
- Find the Seam: Most LiftMaster remotes (like the 893MAX) can be pried open. Look for a small slot or seam along the side.
- Open the Remote: Use a small flathead screwdriver or a visor clip to gently twist and pry the remote’s casing apart. Some models have a small screw on the back that must be removed first.
- Identify the Battery: You’ll see a small, flat “coin” battery. The most common types are CR2032 or CR2025. The battery type will be printed on the battery itself.
- Remove the Old Battery: Note the orientation (which side is “up”). Carefully pop the old battery out. You might need to use the small screwdriver to push it out of its clip.
- Insert the New Battery: Place the new battery in the *exact same orientation* as the old one (usually, the “+” side is face up).
- Close and Test: Snap the remote casing back together (and replace the screw if you had one). Stand near the opener and press the button. The LED should light up brightly, and your door should move!
If your remote still doesn’t work, you may need to reprogram it, but 9/10 times, the battery is the only problem.
Troubleshooting & Pro Tips
Here are a few extra tips for battery maintenance and troubleshooting.
| Issue | Possible Causes | Solutions |
|---|---|---|
| Opener still beeping after replacing battery | – New battery needs to charge – Loose connections – Faulty logic board |
– Wait 1-2 hours for the new battery to charge – Unplug and double-check battery connections – If beeping persists after 24 hours, contact a pro |
| Remote not working after new battery | – Incorrect battery type – Battery inserted upside-down – Remote needs reprogramming |
– Double-check you used the right battery (e.g., CR2032) – Flip the battery over and try again – Reprogram the remote to the opener |
| False low battery warnings | – Loose battery connections – Faulty battery – Power surge scrambled logic |
– Secure connections on the 485LM – Unplug the opener for 60 seconds to reset it – Replace the battery (it may be a dud) |
How to Safely Dispose of Old Batteries
Please don’t just throw old batteries in the trash! They contain chemicals that are harmful to the environment.
- Recycling Centers: Most communities have designated recycling centers or hazardous waste drop-off days.
- Retailer Programs: Stores like Home Depot, Lowe’s, and Best Buy often have battery recycling bins near their entrance.
- Mail-In Services: Services like Call2Recycle offer mail-in options for batteries.
Frequently Asked Questions (FAQs)
Q: How often should I replace my LiftMaster backup battery?
A: The 485LM backup battery typically lasts 1 to 3 years. Its lifespan depends on the temperature in your garage and how often you have power outages.
Q: How long do LiftMaster remote batteries last?
A: The coin battery in your remote (like the CR2032) usually lasts 2 to 3 years, depending on how often you use it.
Q: Can I use any brand of CR2032 battery for my remote?
A: Yes. As long as the battery type is correct (e.g., “CR2032”), any reputable brand like Duracell, Energizer, or Panasonic will work perfectly.
Q: Why is my LiftMaster beeping after a power outage?
A: It’s likely beeping because the power outage drained the backup battery, and the battery is now old and can’t hold a charge. The beeping is the opener’s “Low Battery” warning. It’s time to replace it.
Q: How long does the backup battery last *during* a power outage?
A: A new, fully charged 485LM battery provides enough power for 10 to 20 cycles (one “cycle” is one open and one close) over a 24-hour period.
Conclusion
Maintaining your LiftMaster garage door opener’s batteries is a simple DIY task that ensures you’re never stuck (inside or out). Remember the two-battery system: the backup battery (485LM) stops the annoying beeping, and the remote battery (CR2032) keeps your clicker working from a distance. 🛠️
By following these steps, you can save yourself a service call and keep your garage accessible and secure. And if you’re dealing with other opener gremlins, check out our guide on understanding LiftMaster error codes. Here’s to smooth-operating garage doors!
")