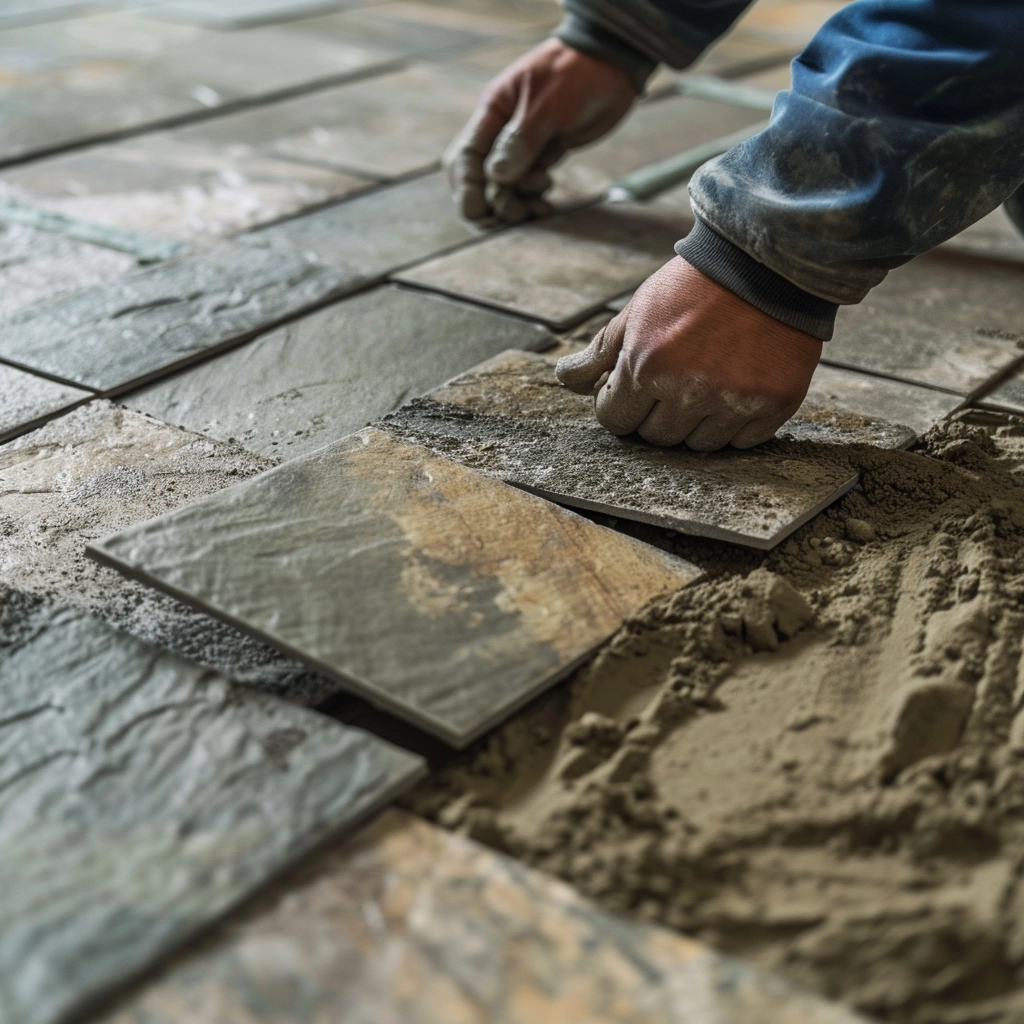
Tile laying enthusiasts, rejoice! We’re delving into the nitty-gritty of grout bags, the unsung heroes of a seamless tile installation. Whether you’re a seasoned pro or a DIY champion, understanding the ins and outs of grout bags can elevate your tiling game. Achieving flawless grout lines is critical for any tile or masonry project. One of the most effective tools for accomplishing clean, professional-looking grout lines is a grout bag. This versatile tool allows for precision, minimizes mess, and ensures grout application exactly where it’s needed. For both professionals and DIY enthusiasts, understanding how to properly use a grout bag is essential for delivering stunning results.
What is a Grout Bag?
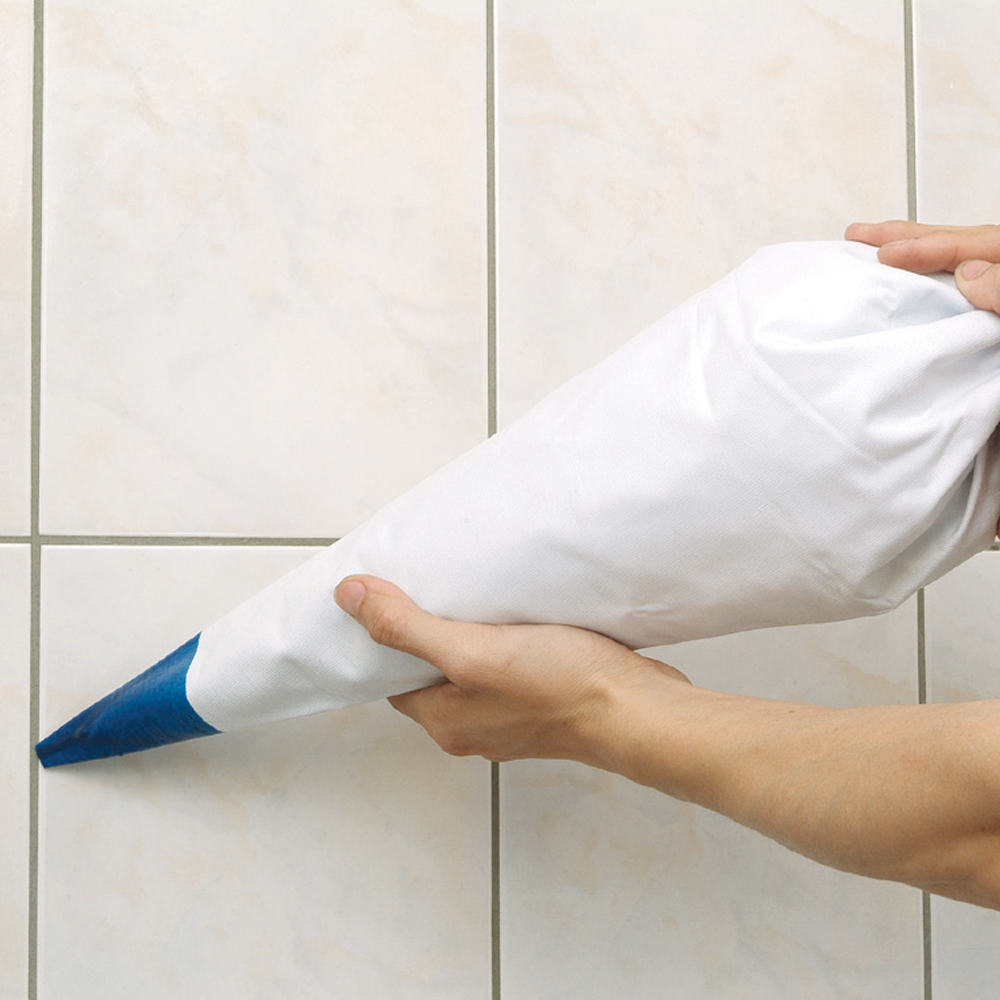
A grout bag is a simple yet highly effective tool, designed much like a pastry bag. It features a nozzle at the tip that allows the user to apply grout in a controlled and targeted manner. Grout bags are used to fill joints between tiles, bricks, or stones, ensuring that grout is placed exactly where needed without spreading excess grout over the entire surface.

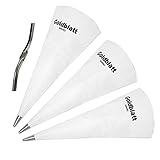
- 🏘️Great Value Tool Set: Includes 3 pcs grout bag + 1 pcs brick jointer + 1 pcs tuck pointers. The grout bag set is well suited for fitting-out works such as grouting, masonry and tile juncture, caulking, projects of stone bricks or floor tiles, mortar and cement, etc.
- 🏘️ Professional Construction Tools: Whether you're a professional mason or a DIY enthusiast, use Tahikem brand tile grout bag to fill with grout to get the job done quickly and protect your hands from dirty mess and other harsh substances. Brick jointer can make a professional finish to joints between bricks, and tuck pointers help tuck mortar between bricks and blocks.
- 🏘️ How to Use: Soak the masonry bag in water for 5 minutes before use, which can make your grouting process smoother, and then you can start working. You will find that you have never used such a useful grouting tool.
- 🏘️ Easy to Clean Up and Money-saving: Designed for easy-cleaned and convenient for application of grouting. The concrete mortar bag can be cleaned and is reusable depending on the material of application. As a decorator, the Tahikem brand mortar bag will save you a massive expense on materials. Tip: it is recommended to use warm water to clean the grout bag.
- 🏘️ High Quality Material: Made from heavy duty canvas with heat sealed seam and waterproof vinyl. This PVC canvas is tear and puncture resistant so you can do your work without unnecessary interruptions. Any questions about the use of Tahikem brand grout masonry bags, please contact us by email and we will serve you wholeheartedly.

- Helps to protect your hands from grout
- Latex tip is easy to clean and can be cut for desired flow
- 12-3/4 in. x 22-3/4 in. size provides enough volume to grout quickly without frequent refills
- Water resistant for long lasting use
- Interior lining is easy to maintain by rinsing with a hose

- 🏘️Great Value Tool Set: Includes 3 pcs grout bag + 3 pcs stainless steel tips + 1 pcs brick jointer + 1 pcs tuck pointers. The grout bag set is well suited for fitting-out works such as grouting, masonry and tile juncture, caulking, projects of stone bricks or floor tiles, mortar and cement, etc.
- 🏘️ Professional Construction Tools: Protect your hands from dirty mess and other harsh substances. According to different grouting materials, the tip can be cut to the desired opening size with a pair of scissors. For grout with particles, you can insert stainless steel tips to prevent the tip from cracking. Brick jointer can make a professional finish to joints between bricks, and tuck pointers help tuck mortar between bricks and blocks.
- 🏘️ How to Use: Soak the masonry bag in water for 5 minutes before use, which can make your grouting process smoother, and then you can start working. You will find that you have never used such a useful grouting tool.
- 🏘️ Easy to Clean Up and Money-saving: Designed for easy-cleaned and convenient for application of grouting. The concrete mortar bag can be cleaned and is reusable depending on the material of application. As a decorator, the Tahikem brand mortar bag will save you a massive expense on materials. Tip: it is recommended to use warm water to clean the grout bag.
- 🏘️ High Quality Material: Whether you're a professional mason or a DIY enthusiast, use Tahikem brand tile grout bag to fill with grout to get the job done quickly. Made from heavy duty canvas with heat sealed seam and waterproof vinyl. This PVC canvas is tear and puncture resistant so you can do your work without unnecessary interruptions.

- Grout Ease: Protect your hands from dirt and mess with ease. Specifically designed for clean and effortless grout squeezing. Ideal for grouting, caulking, masonry, tile joints, stone, brick, mortar, block, cement piping bag projects, and more. Well-crafted and highly recommended for use.
- Durable Material: The grout bag is made of PVC head and white artificial leather. It can be washed after use and can be reused.
- Precise Control: The distinctive design of grout bags, tailored to your needs, you can customize the size of the opening as required. Enables effortless regulation of the flow rate of seam material, ensuring accurate filling results.
- Size: Each grout bag measures 13 inches in width and 25 inches in height. The packaging includes two tile grout bags, providing you with a versatile solution for your needs.
- Easy: Whether you're a professional or a beginner, it's user-friendly, saving you time and material costs.
- Durable Grout Bag - The 3 pieces mortar bags are made from heavy duty vinyl which is tear and puncture resistant, very strong and durable. They all have a heat sealed seam, ideal for use in grouting masonry or tile joints stone brick block.
- Easy Clean Up - The bag can be cleaned and is reusable depending on the material of application. Soak the masonry bag in warm water before use, and also clean off it after use for reusing the bag.
- Heavy Duty Mortar Jointer - Made of high quality steel, heat treated for maximum strength, surface spray to prevent rusting, will last for long lifespan. Size 1/2 in. & 5/8 in.
- Provide Convenience - Use this tile grout applicator to protect your hands from cement and other substances. Designed with premium stainless steel molded in tip it’s easy to squeeze out grout. (Note : The tips are separate from the grout bags.) Best use for grouting caulking masonry or tile joints stone brick mortar block cement piping bag projects.
- What You Will Get - Packaging includes 3 x bags and 1X brick jointer. Grout Applicator Bag Size: 13 inches wide opening and 24 inches in length. Brick Jointer Size: 11 inches in length and 0.8 inch in thickness.
Also read: Best Snow Shovels
Comparison With Other Grouting Tools
While trowels and floats remain common in grouting work, they can lead to overspreading of grout, particularly on textured surfaces like natural stone or uneven brick. A grout bag offers greater precision, reducing cleanup time and allowing the user to focus on filling joints without staining the surrounding surfaces.
Types of Grout Bags
| Type | Description |
|---|---|
| Plastic-lined | Easy to clean and reusable. Ideal for small to medium projects. |
| Fabric | More durable, better for larger jobs, but harder to clean. |
| Different Nozzles | Available in various sizes, depending on joint width and application. |

Why Use a Grout Bag?
When compared to other traditional grouting methods like trowels and floats, a grout bag offers unmatched accuracy. Whether you’re working with bricks, tiles, or stones, this method ensures that grout is applied directly into the joints, reducing waste and mess. It allows for precise control, making it perfect for complex projects or intricate tile designs.
Preparing to Use a Grout Bag
Materials Needed
To successfully use a grout bag, you’ll need the following tools and materials:
- Grout (Sanded or Non-sanded): Depending on the joint width and tile type.
- Grout Bag: Select one based on the size of your project.
- Trowel: For mixing and loading grout into the bag.
- Brick Jointer (Optional): Useful for smoothing and compacting the grout in the joints.
- Cleaning Sponge & Bucket of Water: For cleaning excess grout from the tiles.
Also read: Rotary Drill vs. Hammer Drill
Mixing the Grout
The consistency of your grout mixture is key to ensuring it flows smoothly through the grout bag without clumping or leaking. Grout should be mixed to a consistency similar to peanut butter—not too dry, but not too runny.
Tips for Achieving the Right Consistency:
- Add water gradually: Start with a small amount and increase until the desired consistency is achieved.
- Mix thoroughly: Ensure there are no lumps or dry pockets.
- Test the flow: Squeeze a small amount from the grout bag to see if it extrudes smoothly.
How to Fill the Grout Bag

Step-by-step Instructions:
- Folding the Bag: Fold down the top edge of the grout bag to create a cuff. This prevents spills when filling the bag.
- Filling the Bag: Use a trowel to scoop grout into the bag. Fill it about halfway to avoid overfilling, which could lead to difficulty in controlling the grout.
- Removing Air Bubbles: Shake the bag gently or tap it against a surface to settle the grout and remove any air bubbles.
- Sealing the Bag: Twist the top of the bag tightly to prevent grout from spilling out. Keep a firm grip on the twist to maintain pressure while applying the grout.
Applying Grout with the Grout Bag
Technique for Application
To achieve clean and even grout lines, it’s essential to apply grout with the proper technique:
- Positioning: Hold the bag at a 45-degree angle to the joint.
- Squeezing: Apply consistent pressure to the bag to extrude grout directly into the joint.
- Movement: Move the bag steadily along the joint, maintaining constant pressure for an even application.
Working in Sections
It’s best to work in sections of about 4 square feet at a time. This allows you to control the grout application and clean up excess grout before it begins to harden. Once the grout has been applied, allow it to set for approximately 15 minutes before tooling.
Also read: Best Glue for Plastic Eyeglass Frames
Tooling the Grout
Tooling refers to the process of shaping and smoothing the grout joints to ensure they are properly filled and aesthetically pleasing.
Technique for Tooling
- Brick Jointer: Use a brick jointer or similar tool to compress the grout into the joints, ensuring there are no gaps or air pockets.
- Smoothing: After compressing the grout, run the jointer along the joints to smooth the surface and create a neat finish.
Importance of Tooling
Tooling not only enhances the appearance of the grout lines but also improves the durability of the joints by ensuring they are fully compacted and sealed.
Cleaning Up
Initial Cleaning
After allowing the grout to set for about 30 minutes, you can begin the initial cleanup process.
- Wiping Excess Grout: Use a damp sponge to gently wipe excess grout from the surface of the tiles.
- Avoid Over-wetting: Rinse the sponge regularly and avoid leaving too much water on the surface, as this can dilute the grout.
Final Touches
Once the grout has fully cured, perform a final inspection to check for any missed spots or excess grout that may have hardened. If necessary, use additional cleaning techniques to remove grout haze from the tile surfaces.
Tips for Successful Grouting with a Grout Bag

Common Mistakes to Avoid
- Overfilling the Bag: Filling the grout bag too full makes it harder to control, leading to uneven grout lines.
- Applying Grout Too Thick: This can cause cracking and incomplete drying.
- Skipping Tooling: Failing to tool the grout can result in weak or inconsistent joints.
Best Practices
- Keep Your Workspace Clean: Regularly clean tools and wipe up excess grout to prevent hard-to-remove stains.
- Practice Makes Perfect: Beginners should practice on a small, inconspicuous area before tackling larger sections.
Conclusion
A grout bag is an invaluable tool for achieving clean, precise, and professional-looking grout lines. Whether you’re working on a large masonry project or a simple tile installation, using a grout bag ensures a higher level of control and minimizes mess. With the right preparation, technique, and patience, anyone can master the use of a grout bag and produce exceptional results. Practice and persistence are key to refining your skills and achieving a flawless finish every time.


