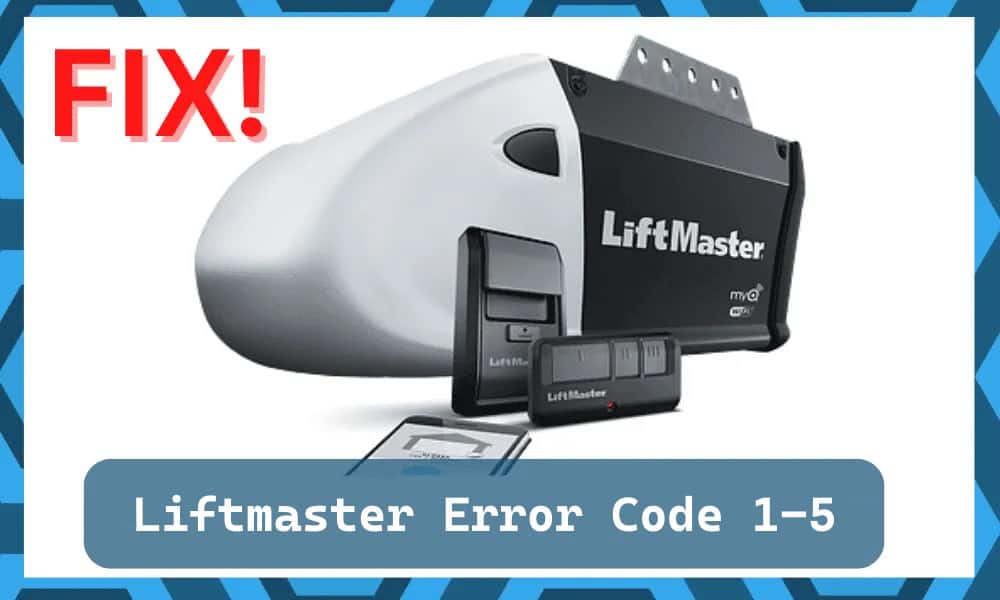
If your LiftMaster garage door opener is flashing error code 1-5, it means the opener’s logic board detected a problem with motor movement or the travel module — the door either reversed unexpectedly, moved only a few inches before stopping, or didn’t move at all. The good news: in most cases you can fix this yourself without expensive parts.
This guide covers every cause, every troubleshooting step, and when it’s time to call a professional.
⚡ Quick Summary: LiftMaster Error Code 1-5
- What it means: The opener detected a motor control or travel module communication failure.
- Flash pattern: UP arrow flashes 1 time, DOWN arrow flashes 5 times.
- Main symptoms: Door clicks but won’t move; door moves 3–6 inches and stops; door reverses immediately; opener hums but door stays still.
- Most common fix: Re-engage the trolley, lubricate moving parts, or replace the travel module.
What Is LiftMaster Error Code 1-5?
Error code 1-5 is a motor control or travel module communication error. The opener’s logic board monitors motor movement through a travel module (also called the speed/RPM sensor module). When that communication fails — or when the motor tries to run but the door doesn’t move — the board throws code 1-5 as a safety stop.
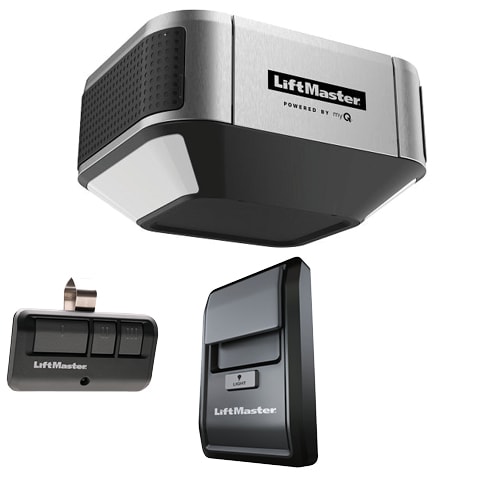
This error can appear on belt-drive, chain-drive, and wall-mount models including the popular 8500W, 8550W, 8550C, and similar units. On myQ-enabled models, you may see “Motor Control Error” in the app alongside the flash code.
Important: Error code 1-5 is different from error code 4-6 (sensor obstruction). With 1-5, the problem is mechanical or electrical — it’s the door or the opener motor itself, not the safety sensors.
Common Causes of LiftMaster Error Code 1-5
| Symptom | Likely Cause |
|---|---|
| Door moves 3–6 inches and stops or reverses | Binding door, worn components (rollers, springs, hinges, tracks), loose wiring, or dirty/failed travel module |
| Opener clicks when remote is pressed but door doesn’t move | Trolley disengaged from door, overheated motor, loose or broken internal parts, defective capacitor |
| Opener hums or buzzes but door stays still | Defective motor or capacitor, imbalanced door, travel module failure |
| Error appears after power outage or surge | Logic board reset issue or surge damage — a surge protector may prevent recurrence |
How to Fix LiftMaster Error Code 1-5 (Step-by-Step)
Work through these steps in order. The first three steps solve the problem for the majority of homeowners.
Step 1: Check the Trolley Engagement
This is the most commonly overlooked cause — especially on newer or recently installed units. If someone pulled the red emergency release cord, the trolley (the carriage that connects the door to the opener arm) may be disengaged. The motor will run and the drive chain/belt will move, but the door won’t budge.
How to fix:
- Look at the trolley on the rail above the door. There is a red release cord and a lever or clip.
- To re-engage, pull the release cord toward the door (not straight down) until you hear or feel a click.
- Once re-engaged, you should not be able to lift the door freely by hand.
- Run the opener — it will automatically re-calibrate its position on the first cycle.
Step 2: Test Door Balance and Manual Operation
A mechanically struggling door will overwhelm the opener and trigger error 1-5. Before assuming an opener problem, test the door itself.
- Pull the red emergency release cord to disconnect the opener.
- Manually lift the door to the halfway point and release it. A balanced door stays in place. If it slams down or shoots up, the springs need adjustment.
- Manually open and close the door fully. It should move smoothly with minimal effort. Any binding, sticking, or grinding points to worn rollers, bent tracks, or damaged hinges.
- Inspect rollers, hinges, and track brackets for obvious damage or wear.
Step 3: Lubricate All Moving Parts
Friction and stiffness in the door hardware can create enough resistance to trigger error 1-5. This is one of the easiest and most effective fixes.
- Apply a garage-door-specific lubricant (such as WD-40 Specialist Garage Door Lubricant or white lithium grease) to: rollers, hinges, the torsion spring, and the rail/chain or belt.
- Do not use standard WD-40 — it strips existing lubrication rather than adding it.
- Wipe away any excess and test the door manually before re-engaging the opener.
- As a rule, lubricate all moving parts every 6 months for smooth, error-free operation.
Step 4: Power Cycle and Recalibrate Travel Limits
A logic board glitch or incorrect travel limit settings can cause the opener to stop the door early and report error 1-5.
- Power cycle: Unplug the opener from the ceiling outlet, wait 60 seconds, then plug it back in. This fully clears the logic board’s temporary memory.
- Recalibrate limits: Locate the UP and DOWN limit adjustment buttons or dials on your opener unit (position varies by model — check your owner’s manual). Adjust the down travel limit so the door fully closes without stopping short or over-traveling.
- On newer models, press and hold the UP and DOWN buttons simultaneously to enter the limit-setting mode.
Step 5: Inspect Wiring and Internal Connections
Loose or damaged wiring is a common but overlooked cause — particularly after power surges or in older units.
- Unplug the opener before opening the motor unit cover.
- Inspect the wiring harness leading to the travel module (a small circuit board inside the opener, connected to the main board by a wire plug).
- Look for corroded terminals, loose connectors, or any wire that’s been chafed against the housing.
- Check the terminal block on the back of the motor unit where the wall control and sensor wires connect — make sure all wires are seated firmly.
- If you experienced a power surge recently, consider adding a surge protector to the outlet. Surge damage to the logic board is a known cause of recurring 1-5 errors on the 8550W model.
Step 6: Inspect and Replace the Travel Module
According to experienced garage door technicians, a dirty or failed travel module is the cause of error 1-5 in the majority of professional repair calls — especially when the door stops every few inches.
How to access the travel module:
- Unplug the opener from power.
- Remove the light cover and motor cover (usually held by plastic tabs or a few screws).
- Locate the travel module — a small rectangular circuit board inside the housing connected to the main logic board by a wire plug. On wall-mount models like the 8500W it is particularly accessible.
- Check that the wire connector is fully seated. Disconnect and reconnect it firmly.
- Inspect the module for visible damage, corrosion, or burn marks.
- If the module is dirty, gently clean the contacts with a dry cloth or compressed air.
- If the module is damaged, replace it. LiftMaster travel modules are available from authorized dealers and online retailers for approximately $30–$70.
Step 7: Consider Motor or Logic Board Replacement
If the travel module is fine but the motor makes no movement at all when activated, or if error 1-5 persists after replacing the travel module, the issue may be:
- Defective motor capacitor — causes humming with no movement; capacitors cost $10–$25 and are a straightforward replacement.
- Failed motor — if the motor is completely dead, replacement is typically only worthwhile on newer units.
- Failed logic board — if the board cannot retain settings or throws multiple error codes simultaneously, replacement is the final DIY option before replacing the whole unit.
Repair or Replace?
Once you’re looking at a travel module, motor, or logic board replacement, the cost question becomes important.
| Option | Typical Cost | Best When |
|---|---|---|
| DIY travel module replacement | $30–$70 (part only) | Opener is less than 10 years old, motor runs but door stops |
| Professional repair service | $150–$400 | Wiring, motor, or logic board issue requiring diagnostics |
| New garage door opener | $300–$600 (unit only) / $750–$1,500 installed | Opener is 10+ years old or multiple components are failing |
A general rule: if the repair cost exceeds 50% of a new unit’s price, replacement is the smarter investment — especially since newer LiftMaster models include myQ smart connectivity, battery backup, and quieter belt-drive operation.
LiftMaster Error Codes Reference Chart

| UP Flashes | DOWN Flashes | Symptom | Cause | Solution |
|---|---|---|---|---|
| 1 | 1 | Door won’t close | Safety sensor wires faulty or sensors not installed | Check sensor wiring. If amber LED is off, inspect sending sensor wiring. If amber is lit but green is off, inspect receiving sensor wiring. Reattach or replace wires as needed. |
| 1 | 2 | Door won’t close, lights flash | Safety sensor wire shorted or reversed | Check that wiring is not pinched or reversed. Inspect both sensor wire runs. Reattach or replace as necessary. |
| 1 | 3 | Wall control not functioning | Door control wires shorted or faulty door control | Check wiring to wall control for staple shorts. Replace with 22-gauge wire if needed. If problem persists after rewiring, replace the door control. |
| 1 | 4 | Door won’t close, lights flash | Safety sensors misaligned or obstructed | Check green LED on receiving sensor — flickering means misalignment. Clear any obstructions and realign sensors until both LEDs are solid. |
| 1 | 5 | Door clicks but doesn’t move; moves a few inches and stops or reverses | Travel module communication error or motor control failure | Follow the 7-step guide above: check trolley engagement, test door balance, lubricate parts, power cycle, inspect wiring, and inspect/replace travel module. |
When to Call a Professional
Call a licensed garage door technician when:
- The door is unbalanced, crooked, or slams shut when operated manually (broken spring)
- Multiple error codes appear simultaneously, suggesting a logic board failure
- The motor makes no movement and no sound after checking all wiring and connections
- Wiring runs inside walls or conduit where DIY replacement is not practical
- You’ve replaced the travel module and the error persists
- You’re not comfortable working inside the opener’s motor housing
Frequently Asked Questions
Q: What does LiftMaster error code 1-5 mean?
A: Error code 1-5 means the opener’s logic board detected a motor control or travel module communication failure. The opener tried to run but either couldn’t detect door movement, or the travel module couldn’t report back correctly. The most common causes are a disengaged trolley, a mechanically binding door, or a dirty/failed travel module.
Q: How do I reset LiftMaster error code 1-5?
A: Unplug the opener from the ceiling outlet, wait 60 seconds, then plug it back in. This resets the logic board. However, the error will return unless you fix the underlying mechanical or electrical cause first.
Q: Is error code 1-5 the same as a broken garage door opener?
A: Not necessarily. In many cases the opener itself is fine — the door is binding, the trolley is disengaged, or the travel module just needs cleaning or reconnecting. Work through all steps before assuming the opener is dead.
Q: How much does a LiftMaster travel module cost?
A: Replacement travel modules cost approximately $30–$70 and are available from LiftMaster authorized dealers, home improvement stores, and online retailers. Installation requires no special tools and typically takes 15–20 minutes.
Q: Can I replace a LiftMaster garage door opener part myself?
A: Yes, for most components. Travel module replacement, capacitor replacement, and wiring repairs are straightforward DIY tasks. Anything involving springs or cables should be left to a licensed technician due to the extreme tension involved.
Q: Why does my LiftMaster click when I press the remote but the door doesn’t move?
A: This almost always means the trolley is disengaged from the door — the most common cause after someone pulled the emergency release cord. Check that the trolley is clicked back into engagement position. It can also indicate an overheated motor (let it cool 30 minutes) or a seized/broken trolley carriage.
Q: How often should I lubricate my garage door opener?
A: Lubricate all moving parts — rollers, hinges, springs, and the rail — every 6 months. Use a garage-door-specific lubricant, not standard WD-40, which strips lubrication rather than adding it.
Q: Can I use my LiftMaster during a power outage?
A: LiftMaster openers equipped with a battery backup can operate during power outages. Check your model’s specifications — units like the 8550WLB and 87504-267 include built-in battery backup. If your unit doesn’t have one, you can add a standalone backup battery accessory.
")


1 thought on “Fix Liftmaster Error Code 1-5”