Changing your Liftmaster garage door opener code is a simple process that can be completed in just a few steps. Whether you want to update your code for security reasons or need to reset it due to a forgotten password, this guide will walk you through the process. 📝
| Key Takeaways | |
|---|---|
| Locate the Learn Button | Find the Learn button on your Liftmaster motor unit, usually near the antenna wire. |
| Enter Programming Mode | Press and release the Learn button to enter programming mode. |
| Enter New Code | Press the desired button on your remote control or keypad to set the new code. |
| Test New Code | Press the button on your remote or enter the new code on your keypad to test it. |
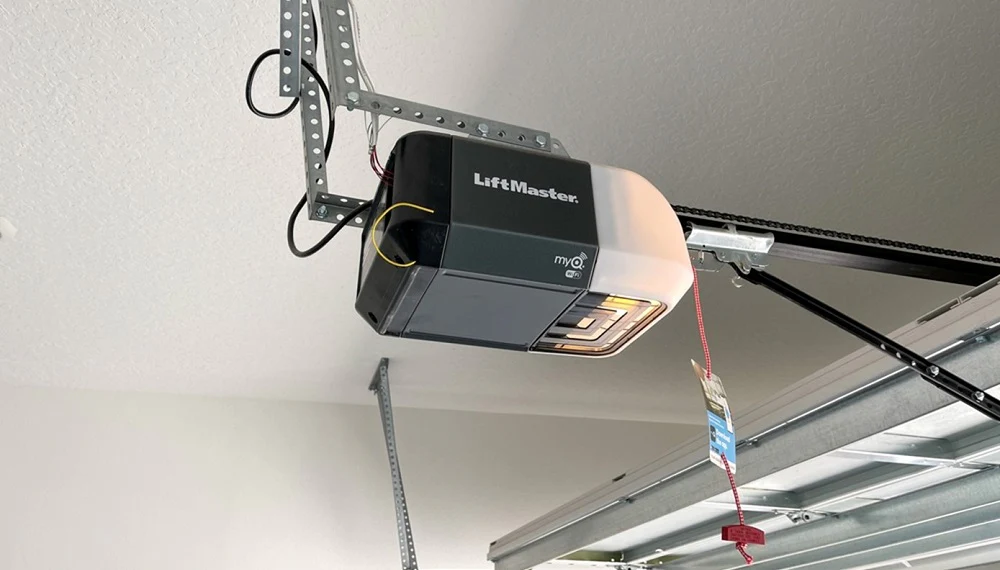
Step 1: Locate the Learn Button 🔍
The first step in changing your Liftmaster garage door opener code is to locate the Learn button on your motor unit. Here’s how:
- Climb a ladder to reach your Liftmaster motor unit, which is typically mounted on the ceiling of your garage.
- Look for the Learn button, which is usually a small, square button located near the antenna wire.
- If you’re having trouble finding the Learn button, consult your Liftmaster owner’s manual for specific instructions.
Step 2: Enter Programming Mode 🔧
Once you’ve located the Learn button, you’ll need to enter programming mode. Follow these steps:
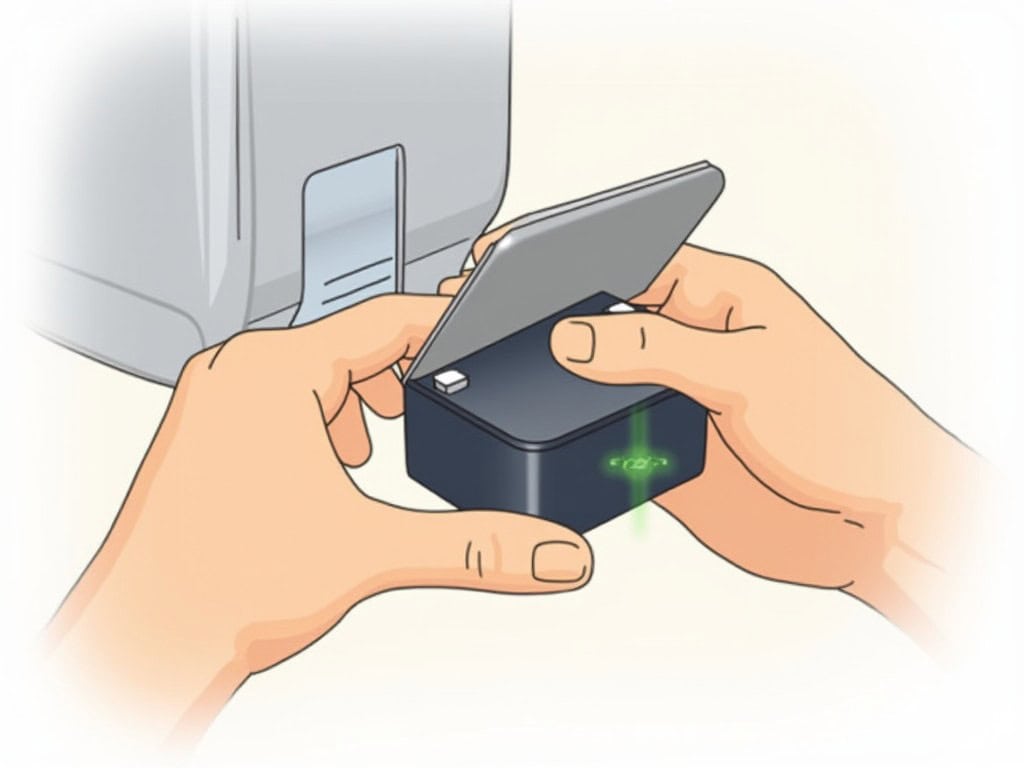
- Press and release the Learn button on your Liftmaster motor unit.
- The LED light next to the Learn button will start blinking, indicating that you’re in programming mode.
- You now have 30 seconds to complete the next step before programming mode times out.
Step 3: Enter Your New Code 🆕
With your Liftmaster motor unit in programming mode, it’s time to enter your new code. The process differs slightly depending on whether you’re using a remote control or a keypad.
Changing the Code with a Remote Control
- Press and hold the button on your remote control that you want to use as your new code.
- While holding the button, press and release the Learn button on your motor unit.
- Release the button on your remote control.
- The LED light on your motor unit will stop blinking and stay lit, indicating that your new code has been successfully programmed.
Changing the Code with a Keypad
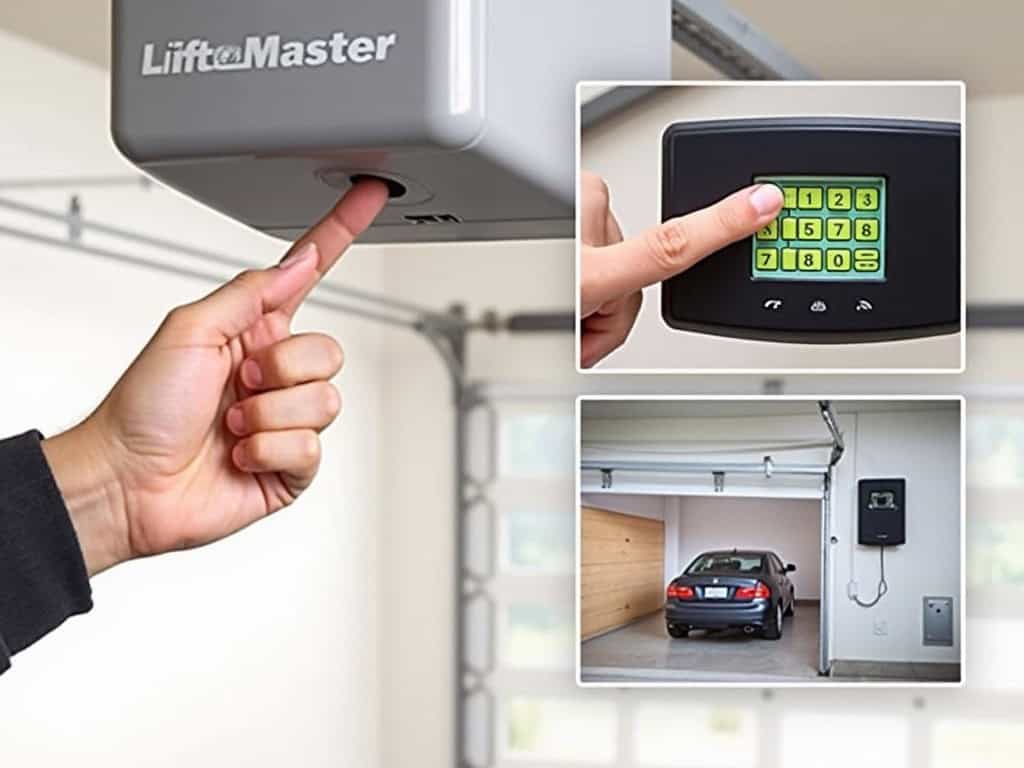
- Enter your desired 4-digit code on the keypad.
- Press and hold the Enter button on the keypad until the LED light on your motor unit stops blinking and stays lit.
- Release the Enter button.
- Your new code has now been programmed.
Step 4: Test Your New Code 🔑
After programming your new code, it’s essential to test it to ensure it works properly. Here’s how:
- Press the button on your remote control or enter your new code on the keypad.
- Your garage door should open or close, confirming that your new code is working correctly.
- If your garage door doesn’t respond, repeat the programming process to ensure you entered the code correctly.
Troubleshooting Tips 🔍
If you encounter any issues while changing your Liftmaster garage door opener code, try these troubleshooting tips:
- Make sure you’re pressing the correct button on your remote control or entering the correct code on your keypad.
- Ensure that your remote control or keypad batteries are fresh and installed correctly.
- If programming mode times out before you can enter your new code, start the process again from the beginning.
- If you continue to experience problems, consult your Liftmaster owner’s manual or contact Liftmaster customer support for assistance.
Conclusion 🚪
Changing your Liftmaster garage door opener code is a straightforward process that can be completed in just a few minutes. By following the steps outlined in this guide and keeping your new code secure, you can enjoy the convenience and security of your Liftmaster garage door opener for years to come. 🎉
Remember, it’s a good idea to change your code periodically to maintain the security of your garage and home. With this guide, you now have the knowledge and confidence to change your code whenever needed. Happy programming! 😊






1 thought on “Change Your Liftmaster Garage Door Opener Code 🔒”