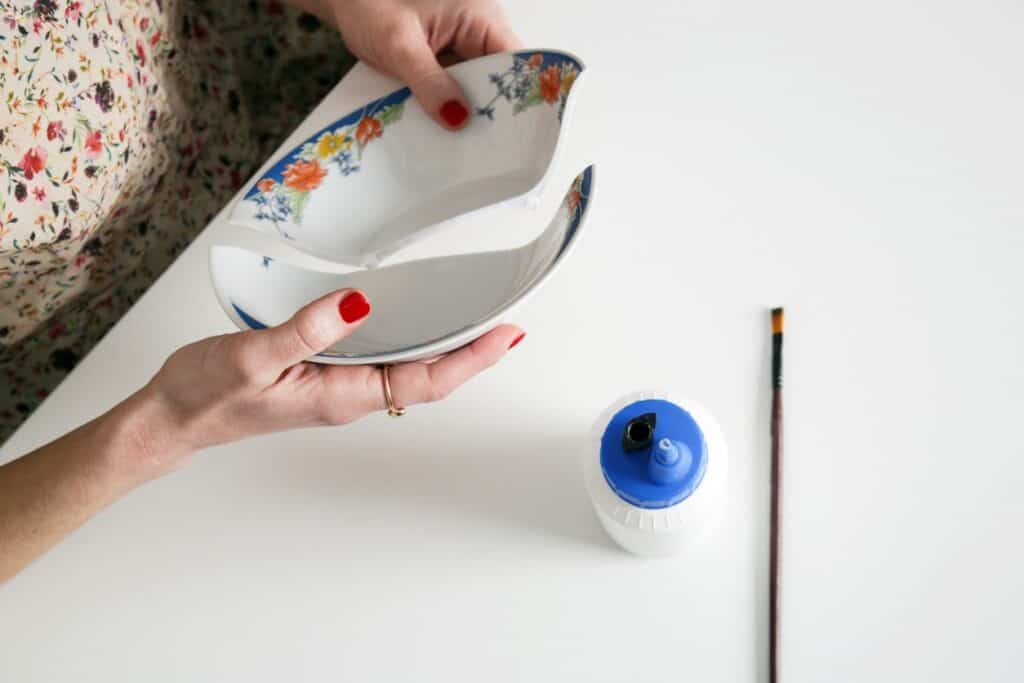
Have you ever experienced the heart-sinking moment when a cherished ceramic vase or plate slips from your hands and shatters on the floor? Don’t worry, all is not lost! With the right glue and a bit of patience, you can bring your broken ceramics back to life. In this guide, we’ll explore the best glues for ceramic repairs and share tips to help you achieve professional-looking results.
| Key Takeaways |
|---|
| Super glue, epoxy, and waterproof polyurethane are top choices for ceramic repairs |
| Consider factors like ceramic type, break location, and intended use when choosing glue |
| Proper surface preparation and application techniques are crucial for successful repairs |
| Some ceramic glues are food-safe, while others are not – choose accordingly |
| Patience during drying and curing time is essential for a strong, lasting bond |
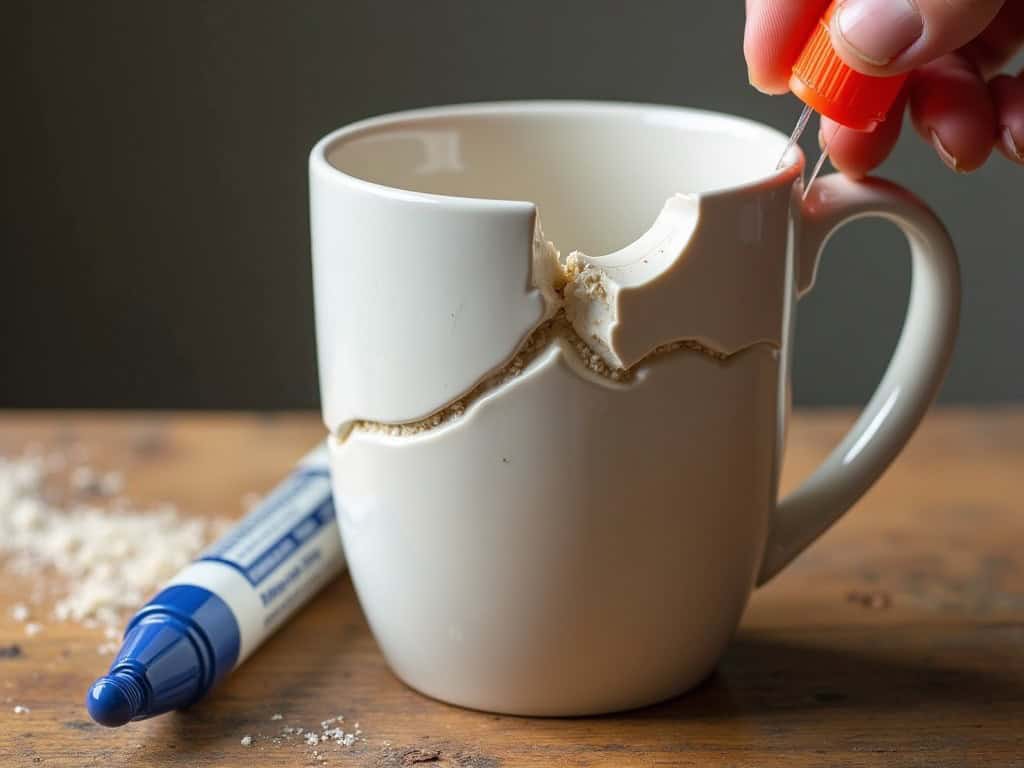
Types of Glue for Ceramic Repairs
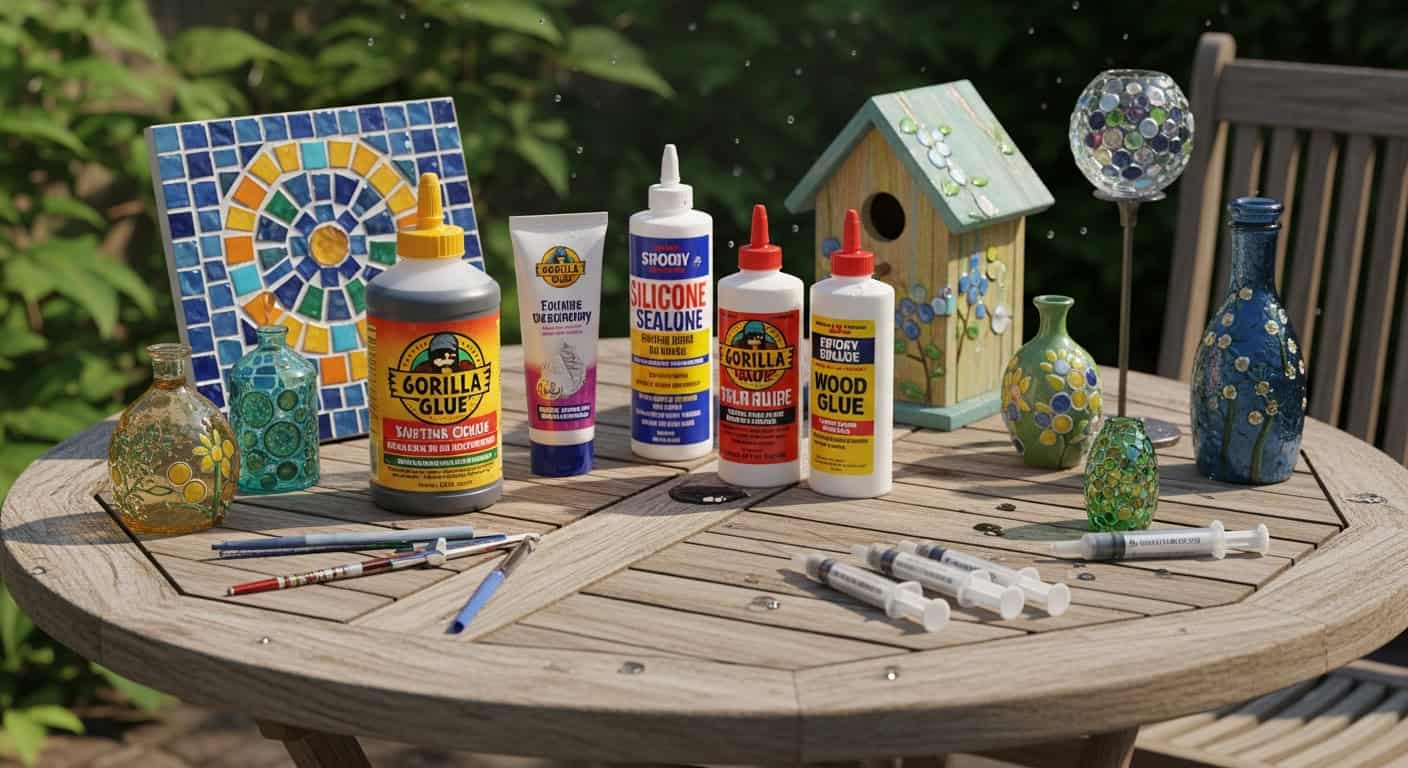
When it comes to fixing ceramics, not all glues are created equal. Let’s dive into the three main types of adhesives that work best for ceramic repairs:
1. Super Glue (Cyanoacrylate)
Super glue is often the go-to choice for quick ceramic fixes. It’s similar to the adhesive you might find in an eyeglass repair kit, but formulated for stronger bonds.
Pros:
- Fast-drying
- Creates a strong bond
- Easy to apply
- Generally clear when dry
Cons:
- Can be brittle
- Not ideal for gaps or large surfaces
- May leave visible glue lines
Best for: Small, clean breaks with tight-fitting pieces
2. Epoxy
Epoxy is a two-part adhesive that provides an incredibly strong bond. It’s often used in construction and industrial applications, but it’s also excellent for ceramic repairs.
Pros:
- Extremely strong bond
- Can fill gaps
- Waterproof when cured
- Some formulations are heat-resistant
Cons:
- Longer curing time
- Requires mixing before use
- Can be messy to apply
Best for: Large breaks, heavy ceramics, or pieces that will be exposed to water or heat
| Product Name | Size | Key Features | Customer Rating | Price |
|---|---|---|---|---|
| J-B Weld 8265S Original Cold-Weld Steel Reinforced Epoxy - 2 oz. | 56.8g (2 oz) | Industrial-strength, waterproof, heat & chemical resistant, sets in 4-6 hrs | 4.8/5 | $6.97 |
| Gorilla 2 Part Epoxy, Clear Epoxy, 0.85 Ounce Syringe (Pack of 2) - 5 Minute Set, Incredibly Strong Bonding | 25mL (0.85 oz) | Quick-set, works on metal, wood, plastic, no clamping needed, dries clear | 4.6/5 | $5.99 |
| Loctite Epoxy Five Minute Instant Mix | 14mL (0.47 oz) | Self-mixing nozzle, sets in 5 minutes, water & solvent resistant | 4.6/5 | $4.99 |
| Devcon 2-Ton Epoxy | 56.7g (2 oz) | High strength, impact resistant, dries clear, works on metal, glass, ceramics | 4.7/5 | $7.40 |
| PC Products PC-Super Epoxy Adhesive Paste Kit, Two-Part with Dispensing Gun and 3-Pack of 50ml Cartridges, 03589, Clear | 28.3g (1 oz) | Clear formula, gap-filling, waterproof, good for glass, ceramics, & wood | 4.6/5 | $7.89 |
3. Waterproof Polyurethane Glue
This type of glue expands as it dries, which can be beneficial for filling small gaps in ceramic repairs.
Pros:
- Waterproof
- Expands to fill gaps
- Strong bond
- Flexible when cured
Cons:
- Can be messy due to expansion
- Longer curing time
- May require clamping during drying
Best for: Outdoor ceramics, pieces with slight gaps, or items that will be exposed to moisture
| Product Name | Size | Key Features | Customer Rating | Price |
|---|---|---|---|---|
| Gorilla Original Waterproof Polyurethane Glue | 236mL (8 oz) | 100% waterproof, bonds wood, stone, metal, expands 3x for a strong bond, indoor/outdoor | 4.7/5 | $12.99 |
| Titebond III Ultimate Wood Glue | 473mL (16 oz) | Waterproof, ANSI Type I certified, strong initial tack, ideal for woodwork | 4.8/5 | $13.99 |
| Loctite PL Premium Polyurethane Construction Adhesive | 266mL (9 oz) | Weatherproof, bonds wood, metal, concrete, VOC compliant, strong and durable bond | 4.7/5 | $7.48 |
| ELMERS Carpenter's Wood Glue Max, 8 Oz (E7300) | 118mL (4 oz) | Multi-surface, waterproof, sandable and paintable, strong bonding with metal and wood | 4.6/5 | $6.29 |
| 3M Marine Adhesive Sealant 5200 | 89mL (3 oz) | Waterproof, flexible and durable, ideal for marine applications, bonds fiberglass | 4.8/5 | $17.99 |
Factors to Consider When Choosing Ceramic Glue
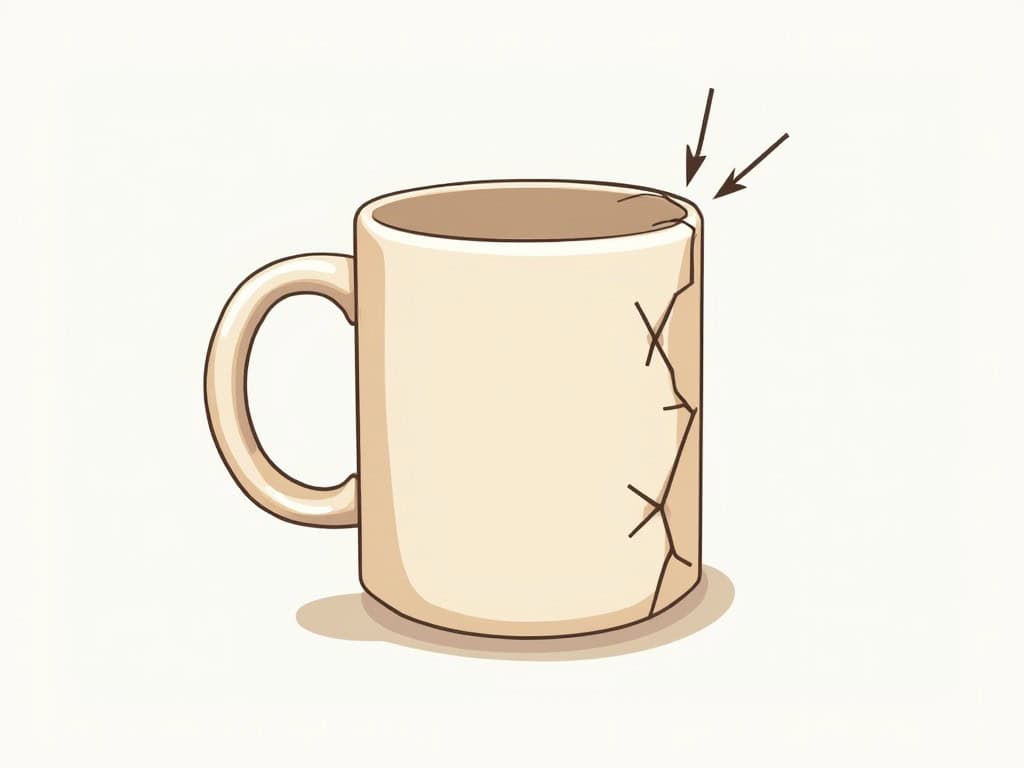
Before you rush to grab any glue off the shelf, consider these important factors:
- Type of ceramic: Different ceramics may require different adhesives. For example, porcelain might need a specialized porcelain glue.
- Location of the break: Is it a clean break or are there missing pieces? This can affect which glue will work best.
- Intended use: Will the repaired item be purely decorative, or will it need to hold water or food?
- Exposure to elements: Consider if the piece will be exposed to water, heat, or sunlight regularly.
- Desired finish: Do you want a clear repair, or are you okay with a visible glue line?
By taking these factors into account, you’ll be better equipped to choose the right glue for your specific ceramic repair needs.
Remember, just like choosing the right screwdriver set for a job, selecting the appropriate glue is crucial for a successful ceramic repair.
How to Repair Broken Ceramics with Glue
Now that you’ve chosen the best glue for your ceramic repair, it’s time to get started. Follow these steps for a successful restoration:
- Gather materials and tools: You’ll need your chosen glue, a clean cloth, rubbing alcohol or acetone, disposable gloves, and a toothpick or small brush for applying the glue. If you’re using epoxy, you may also need a mixing tray and stirring stick.
- Clean and prepare the broken pieces: Gently clean the broken edges with rubbing alcohol or acetone to remove any dirt, grease, or old adhesive. This step is crucial for ensuring a strong bond.
- Apply the glue: Put on your gloves and carefully apply the glue to one of the broken edges. For super glue, a thin layer is usually sufficient. If you’re using epoxy or polyurethane glue, follow the manufacturer’s instructions for mixing and application.
- Join the pieces: Carefully align the broken pieces and press them together firmly. Use a toothpick or small brush to remove any excess glue that squeezes out from the joint.
- Clamp or hold: Depending on the type of glue and the size of the piece, you may need to clamp the repair or hold it together by hand for several minutes to ensure a strong bond.
- Allow drying time: Let the glue dry and cure according to the manufacturer’s instructions. This can range from a few minutes for super glue to several hours for epoxy.
- Clean up and finish: Once the glue is fully cured, use a sharp blade or sandpaper to carefully remove any excess glue from the repair. If desired, you can touch up the glue line with paint or a marker that matches the ceramic color.
Remember, patience is key when repairing ceramics. Rushing the process can lead to weak joints or visible glue lines, so take your time and allow each step to be completed properly.
Tips for Successful Ceramic Repairs
To achieve the best results, keep these expert tips in mind:
- Proper surface preparation is essential. Cleaning the broken edges thoroughly will help the glue adhere properly and create a stronger bond.
- Apply glue evenly. Whether you’re using a toothpick, brush, or nozzle, make sure to apply the glue in a thin, even layer to avoid excess glue squeezing out from the joint.
- Minimize visible glue lines. To keep glue lines as inconspicuous as possible, wipe away excess glue immediately and use a color-matched touch-up paint or marker if needed.
- Be creative with missing pieces. If you’re dealing with a piece that has missing fragments, consider filling the gap with a contrasting color of glue or paint to create a unique, artistic look.
By following these tips and taking your time with each step, you’ll be well on your way to achieving professional-looking ceramic repairs that will last for years to come.
Frequently Asked Questions
Can ceramic glue be used on other materials?
Some ceramic glues, particularly epoxy and polyurethane, can bond other materials like wood, metal, or plastic. However, it’s always best to check the manufacturer’s specifications to ensure the glue is suitable for your specific application.
Is ceramic glue food-safe?
Some ceramic glues, especially those designed for repairing dishes and cups, are food-safe once fully cured. However, not all glues are suitable for contact with food or drink. Always check the product label or manufacturer’s website to verify if a glue is food-safe before using it on items that will hold food or beverages.
How long does ceramic glue take to dry?
Drying and curing times vary depending on the type of glue and environmental factors like temperature and humidity. Super glue typically dries within a few minutes, while epoxy and polyurethane glues can take several hours to fully cure. Consult the product instructions for specific drying and curing times.
Can glued ceramic pieces be microwaved or washed in a dishwasher?
This depends on the type of glue used and the specific product’s instructions. Some ceramic glues are heat-resistant and dishwasher-safe, while others may not withstand high temperatures or prolonged exposure to water. To be safe, it’s generally best to hand-wash repaired ceramics and avoid microwaving them unless the glue is explicitly labeled as microwave-safe.
Safety Considerations When Working with Ceramic Glues
While repairing ceramics can be a rewarding DIY project, it’s important to prioritize safety. Here are some key safety tips to keep in mind:
- Ventilation: Always work in a well-ventilated area, especially when using strong adhesives like epoxy or super glue. If possible, work outdoors or near an open window.
- Protective gear: Wear gloves to protect your skin from glue and ceramic shards. Safety glasses are also recommended to shield your eyes from potential splashes or dust.
- Avoid skin contact: If glue gets on your skin, don’t panic. Check out our guide on how to get super glue off skin for safe removal methods.
- Keep away from children and pets: Store glues and repair materials out of reach of children and pets, and never leave them unattended during the repair process.
- Follow manufacturer instructions: Always read and follow the safety instructions provided by the glue manufacturer.
Alternative Repair Methods for Ceramics
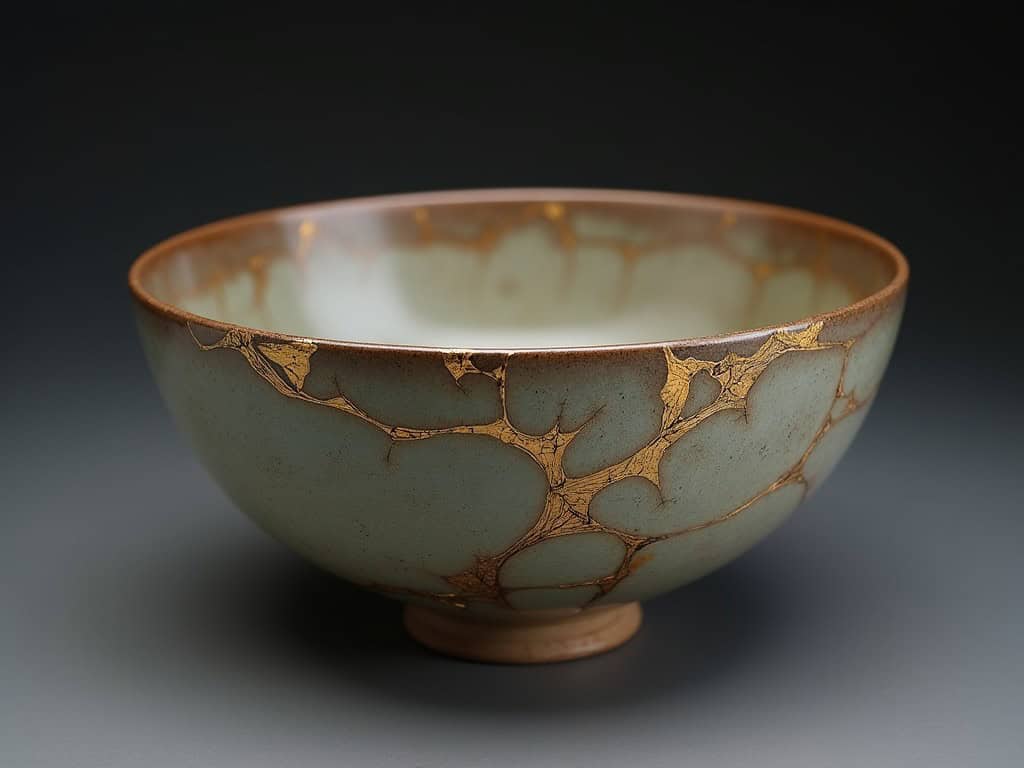
While glue is often the go-to solution for ceramic repairs, there are other methods you might consider:
- Kintsugi: This Japanese art form embraces the history of broken objects by repairing them with gold-colored epoxy, creating beautiful, visible seams.
- Professional restoration: For valuable or antique ceramics, consider seeking the help of a professional restorer who can use specialized techniques and materials.
- Stapling: For purely decorative pieces, some artists use small metal staples to join broken ceramics, creating an interesting, industrial look.
- 3D printing: In some cases, missing pieces can be recreated using 3D printing technology, then attached to the original ceramic.
Maintaining Your Repaired Ceramics
After successfully repairing your ceramic piece, proper care can help ensure the longevity of your repair:
- Handle with care: Even with a strong repair, the mended area may be weaker than the original ceramic. Handle repaired items gently.
- Avoid extreme temperatures: Unless you’ve used a heat-resistant glue, keep repaired ceramics away from high heat sources.
- Clean gently: Hand wash repaired items with mild soap and warm water, avoiding harsh scrubbing at the repair site.
- Monitor the repair: Periodically check the repaired area for any signs of weakening or separation, and re-glue if necessary.
Conclusion: Bringing New Life to Broken Ceramics
Repairing broken ceramics is more than just a practical skill – it’s a way to preserve memories, reduce waste, and even create something beautiful from what was once broken. With the right glue, techniques, and a bit of patience, you can breathe new life into your favorite ceramic pieces.
Remember, the key to successful ceramic repair lies in choosing the right adhesive for your specific needs, preparing the surfaces properly, and allowing adequate time for drying and curing. Whether you’re fixing a cherished family heirloom or a favorite coffee mug, the satisfaction of a well-executed repair is hard to beat.
So the next time you hear that heart-stopping crash of breaking ceramic, don’t despair. Armed with the knowledge from this guide and the right glue, you’re well-equipped to tackle the repair and restore your ceramic treasures to their former glory – or perhaps even create something even more special in the process.
Happy repairing, and may your mended ceramics serve you well for years to come!

